Cardiac MRI Slice Planning Simulator
An interactive CMR simulator that helps MRI radiographers, MRI technologists and CMR trainees practise cardiac imaging-plane positioning. Learn cardiac MRI slice planning for the standard views — 2 chamber, 3 chamber, 4 chamber, LVOT and short axis — by adjusting planning lines on a reference image and inspecting the resulting slice.
Free demo: 2-chamber view only · No account required · No download
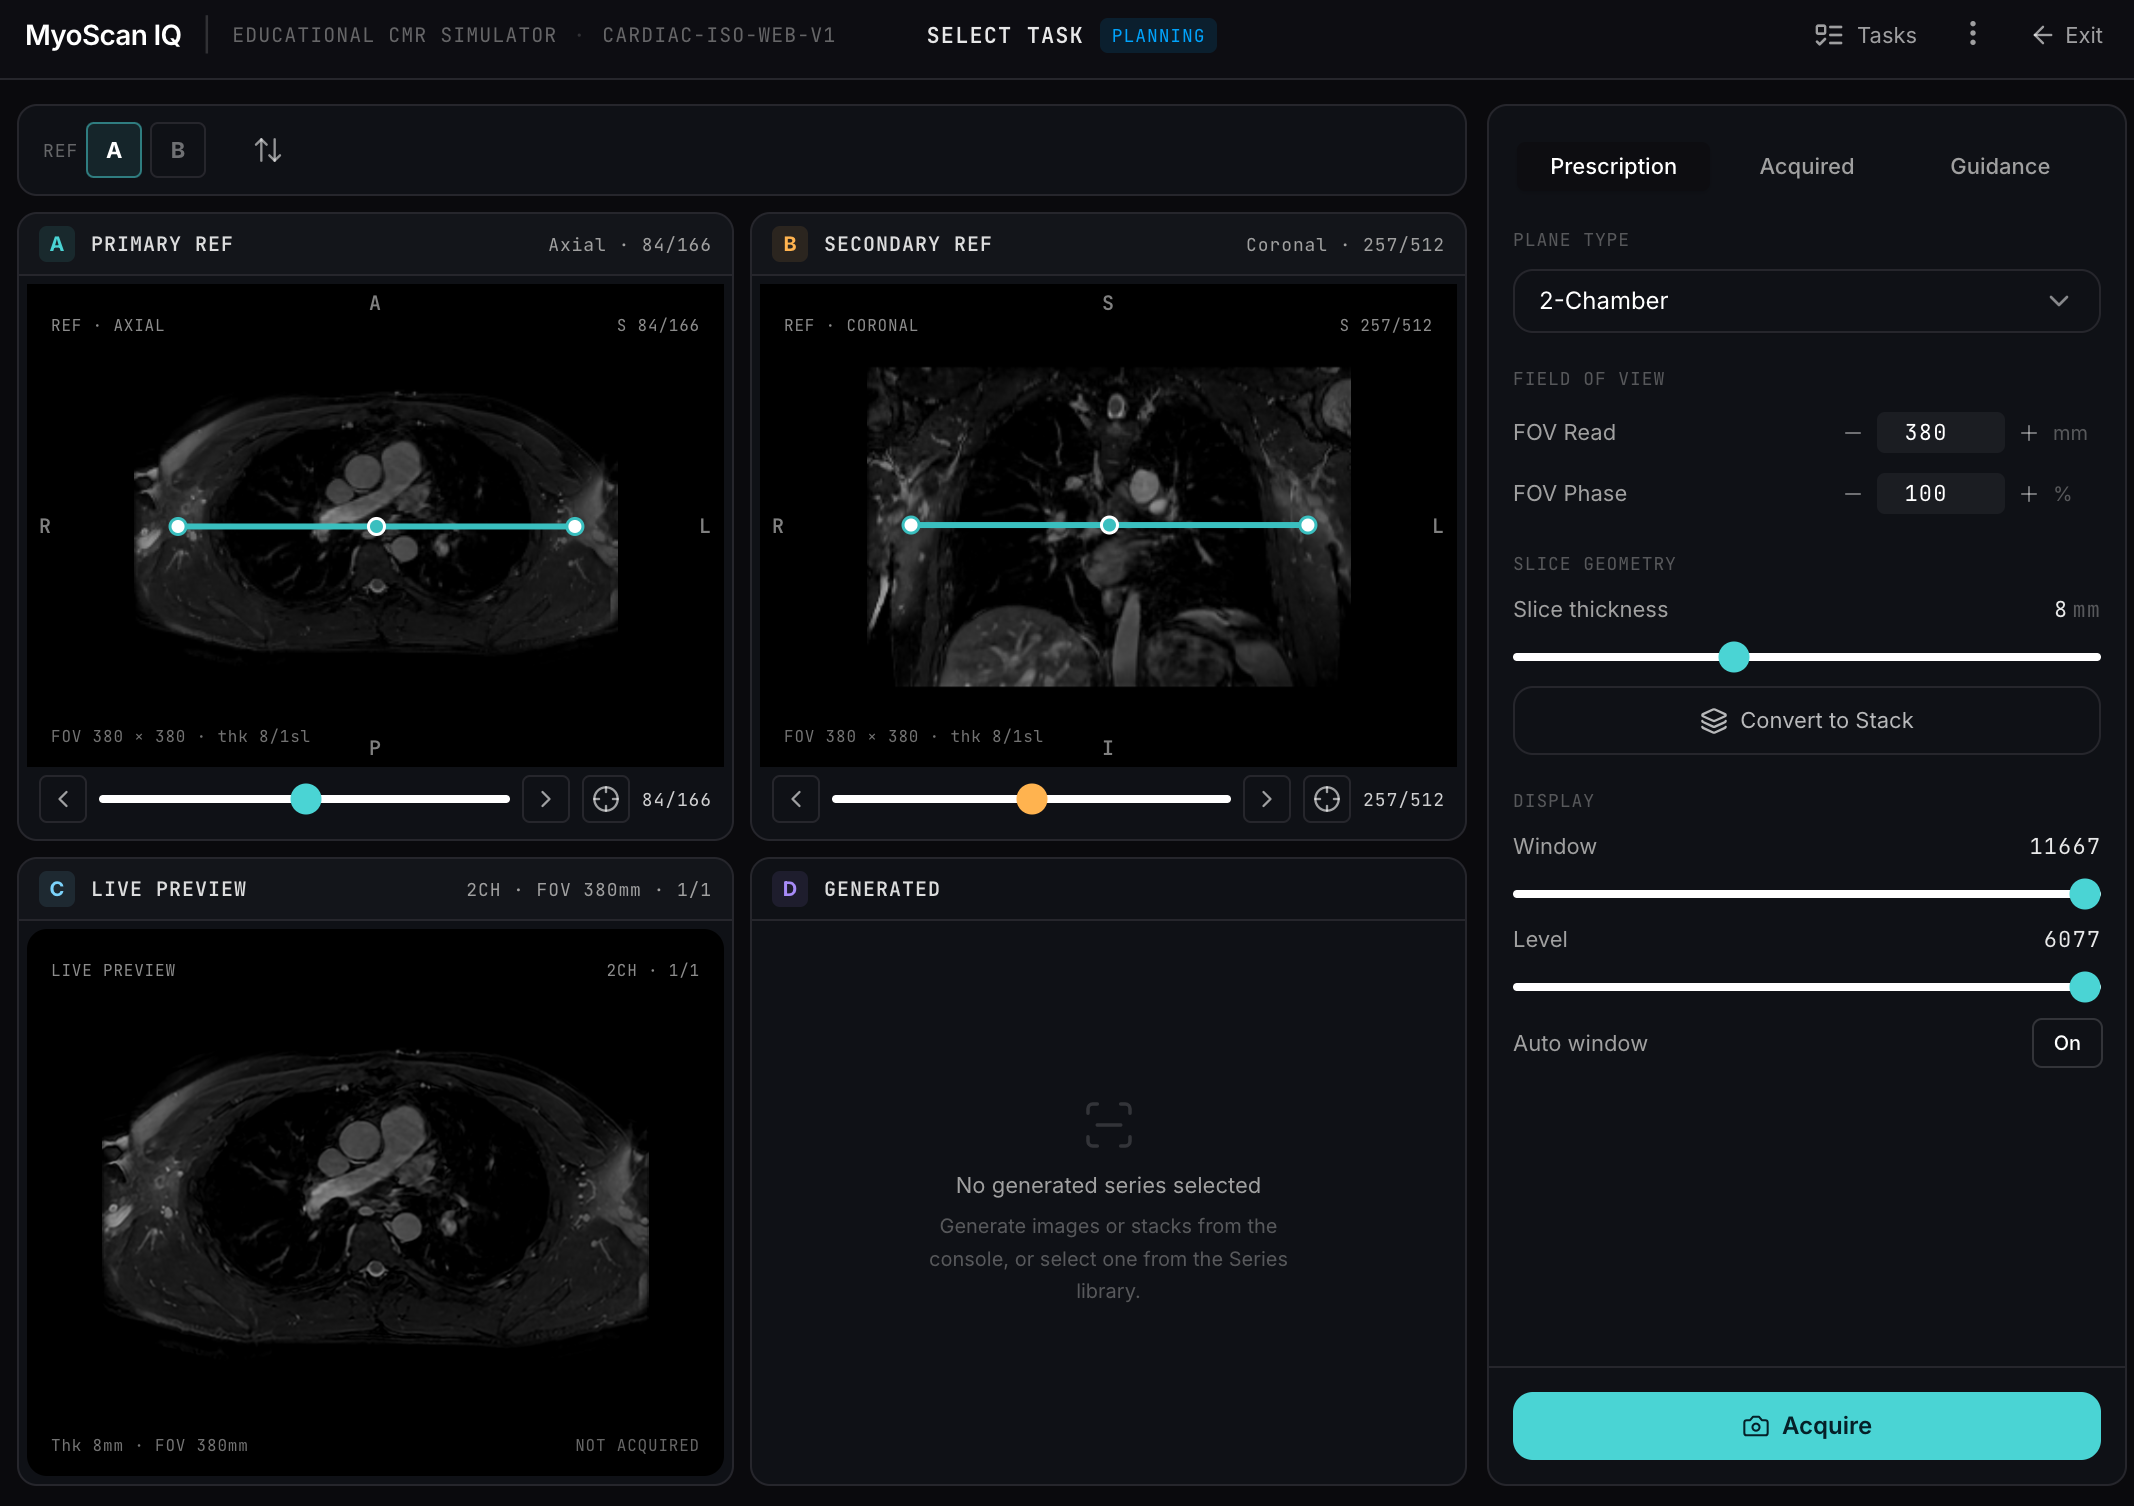
The MyoScan IQ CMR simulator: reference image with adjustable planning lines and a resulting slice preview. The free demo covers the 2-chamber view.
How to use the free demo
Three steps to start practising cardiac MRI slice planning in the free CMR simulator.
- 01
Open the simulator
Click "Try the Free CMR Simulator" below — no account or download required. The simulator loads a reference cardiac image directly in your browser.
- 02
Adjust the planning lines
Drag the planning lines on the reference image to position the 2-chamber slice. Align from the LV apex to the centre of the mitral valve.
- 03
Acquire and inspect
Acquire the slice to generate the resulting 2CH view, then compare it with the reference image to check your positioning.
- 04
Explore further
The free demo covers the 2-chamber view. Full access unlocks all standard planes — 3CH, 4CH, LVOT and short axis — for complete CMR practice.
Position a 2-chamber slice
The 2-chamber (2CH) view is available in the free demo. Try this task to put the principles into practice.
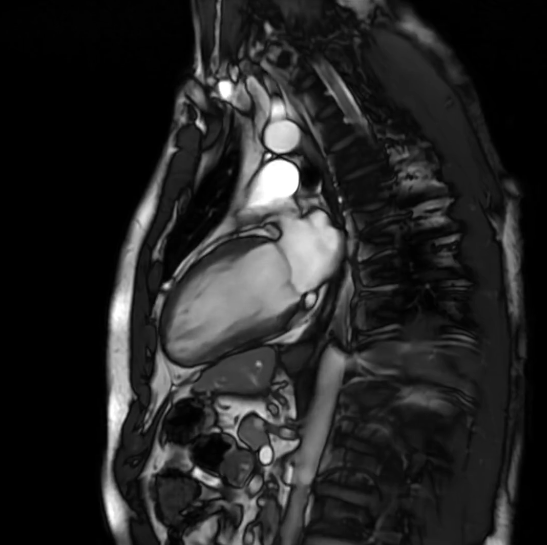
Your task
Open the simulator and drag the planning line on the reference image so it runs from the LV apex to the centre of the mitral valve. Acquire the slice and compare your result with this reference.
Self-check
- The slice shows the LV long axis from apex to mitral valve
- Both the anterior and inferior walls are visible
- The mitral valve is at the top of the image and the apex at the bottom
Principles of CMR slice planning
- CMR scan planes are prescribed relative to the individual orientation of the heart, not the scanner axes.
- Standard views include the 2 chamber, 3 chamber, 4 chamber, LVOT and short axis.
- Accurate positioning is important for consistent, reproducible cardiac assessment.
- Learning the principles is useful, but practical positioning experience is also important.
Standard cardiac imaging planes
The standard CMR views each demonstrate a different aspect of cardiac anatomy. The free demo covers the 2-chamber view; full access unlocks all five planes for interactive practice.
2 Chamber
Demonstrates the left ventricle long axis from apex to mitral valve, showing the anterior and inferior walls.
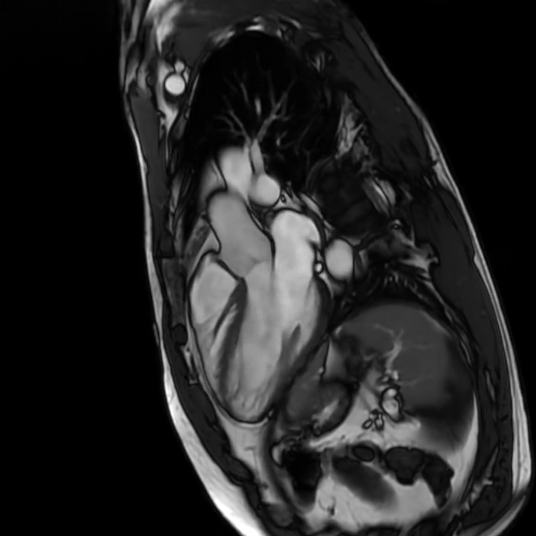
3 Chamber
Demonstrates the left ventricle long axis including the LV outflow tract and aortic valve.
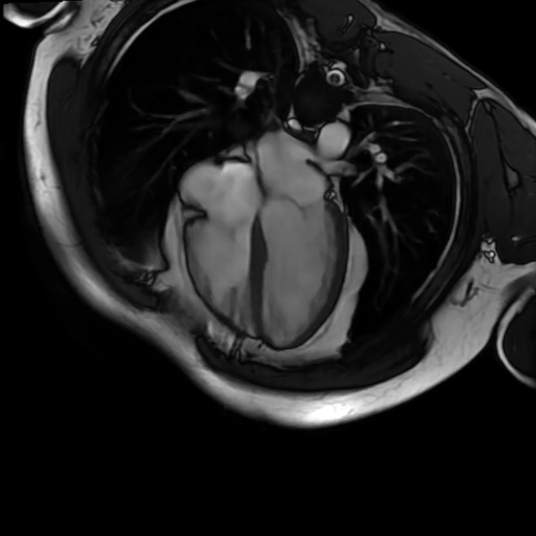
4 Chamber
Demonstrates all four cardiac chambers, showing the interventricular and interatrial septa.

LVOT
Demonstrates the left ventricular outflow tract, aortic valve and proximal ascending aorta.
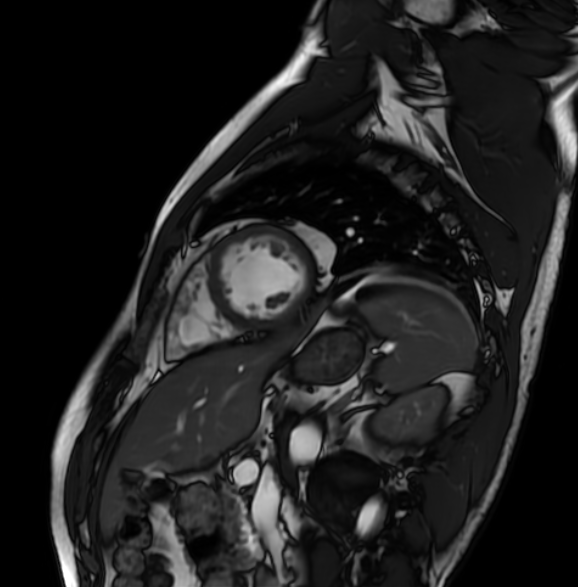
Short Axis
Demonstrates cross-sectional slices of the left and right ventricles, used for ventricular function and volume assessment.
Learn by doing
Reading about slice positioning is useful. Practising it is better. Use the free MyoScan IQ simulator to explore cardiac anatomy, manipulate imaging planes and practise CMR slice planning interactively.
Launch Free SimulatorGo further with MyoScan IQ Full Access
Full Access includes more detailed CMR teaching, structured positioning guidance, protocol creation, anatomy and pathology reference, MRI physics, image optimisation and a full library of educational resources — all in one platform.
Explore Full Access